Apr 27, 2014

These shoes were made for...


Do you have a pair (or two) of shoes that you can't throw away, even though they already look completely worn out? Well, I know how you feel. Meet one of my favorite pairs of shoes. They are comfortable, they have red laces and we've been walking around together for about two years. :)


Naturally, all that walking left a trace on the soles and heels, so I've decided to do something about it.


I had this project on my mind for some time now. I've seen similar projects on Pinterest and other DIY blogs and here is my version.


For this project I used:

Rice paper with text pattern
Art Potch Decoupage Glue and Lacquer (matt and glossy)
Paintbrush
... and, of course, old shoes


Step 1: Prepare your shoes – clean the area you want to decoupage. I also sanded the most damaged parts of the heels a little bit.


Step 2: Prepare the rice paper. Measure how much paper you need and rip it into smaller pieces.


Step 3: Use a paintbrush to cover heels with decoupage glue (I used Art Potch matt), and stick the pieces of the rice paper onto it. Cover them with another layer of Art Potch and let dry completely.


Step 4: Carefully cut off any excess of the paper (I used the exacto knife and nail scissors to do that.)


Step 5: Seal your work with another layer of Art Potch. I used Art Potch glossy for this step to make my heels more resistant to water and dirt (I mean, we don't want to see them ruined by rain, don't we).


Let it dry...


... and you've got yourself a „new“ pair of shoes! :)


Feb 23, 2014

Pearls are a girl's best friend (part 2)


If you agree with this statement, then you're in the right place and please continue reading.  :)
I already mentioned why I love the pearls in my previous post where I showed you how I made my new chunky pearl necklace. You can check the tutorial here.

Today I'm gonna show you how to make pearl waterfall earrings.


You'll need:


Pearl beads of different size (and colors)
Head pins and/or wire
Chain
Earring hooks
Jump rings
Pliers


Step 1: Cut the chain to the desired length of the earring.


Step 2: Pull the head pins through the pearls. The holes in my pink pearls were too small for pins so I used wire instead. I made a little loop at the end of the wire and then pull it through the bead.


Step 3: Cut the excess of the head pin or wire. Make sure you leave enough of it to make a loop.


Step 4: Attach pearl beads to the chain.


Step 5: Attach the chain to the earring hook using a jump ring.


Step 6: Repeat the whole process one more time.


And voila!


I really love them. My new favorite! :)


Feb 22, 2014

Pearls are a girl's best friend


Some women like diamonds, I like pearls. I think they look elegant, classy and delicate. A beautiful piece of pearl accessories can add a pop of glamour to an otherwise ordinary outfit. 

Maybe pearls are not for everyone, but if you like this style, you should definitely have a piece of pearls in your jewelry box. And if you can't afford the real ones, you can always reach for imitations. Even more, if you are a DIY lover, you can design your own unique piece of jewelry.


I've been dreaming of a chunky pearl necklace (something like in the images below) for some time now. 


And, finally, I made one. :)


For this project I used:

Pearl beads of different size and colors
A metal pendant
Nylon thread
A clasp
2 clamshell tips
Jump rings
Small round crimp beads
Pliers


Step 1: Thread pearl beads on a nylon thread. Make at least 3 strings of pearls.


Step 2: If you like, you can add a metal pendant to one string of pearls. Slide a crimp bead on and push all the way to the last pearl, pull the nylon thread through the loop on the pendant and back through the crimp bead. Use pliers to pinch the crimp bead shut. Repeat on the other side of the pendant and continue with threading pearls to finish your string.


Step 3: End your strings with crimp beads and use pliers to pinch the crimp bead shut. Pull the rest of the nylon thread through the clamshell tip and close it. Cut any excess of the thread. Do this for both ends of the pearl strings.


Step 4: Attach the clasp.


Step 5: Finally, twist both ends to make the strings of pearls twine around one another. 


So, what do you think?


Feb 1, 2014

Give your heart! (Ideas for DIY gifts)


Recently I turned 26. To be honest, I don't know how that happened... it feels like just yesterday I was graduating high school. Well, it seems that time really flies. Luckily, I have some incredible friends to spend my time with.  And each year for my birthday they surprise me with touching birthday wishes and some amazing DIY and/or perfectly picked gifts.

As I already mentioned in my first post, I believe that the most valuable things in life (when speaking about material stuff) are handcrafted - or in other words HEARTmade. That's why I prefer DIY gifts – I enjoy making that 'perfect' present for that special someone, and I love receiving gifts that I know were crafted  with love and especially for me. :)

And here are a few of my favorites:


1) Slippers with Timon and Pumbaa


2) Earring holder made out of the grater


3) Personalized board game – one pawn represents me and the other ones my friends; also, tasks written on the cards are based on our common experiences and inside jokes


4) The lamp – how cool is this? :)


5) Aaaand... my favorite - the movie containing all our jokes, songs, etc.


If you're not a DIY person, don't worry. You can find „that perfect“ gift in stores if you really know the person you are buying for. For an example, I'd say this is a perfect gift for a DIY lover (thanks again M., I love it):


But, since the best things in life aren't things at all, the most precious gifts that I've got are my friends. Life would be empty and boring without those amazing, kind and crazy women who have been giving me the pieces of them for over 7 years – actually, one of them puts up with me for 14.5 years. :)


Also, about 4 months ago, I met some new beautiful people... and I hope they'll stick around for some time – for the next 7, 14, 30... years. Because, let's face it, life is sweeter if you can share it with someone and the best gift you can receive is someone's heart and the chance to be the part of his/her life. 


Jan 26, 2014

Capturing December (part 4)


Well, I'm pretty late with this one, but here it is. The final part of  "Capturing December"...


Dec, 27th: "A beautiful sight"


Dec, 28th: "Peace"


Dec, 29th: "Grateful"


Dec, 30th: "Fun"


Dec, 31st: "Winter Wonderland" 


* Unfortunately, there was no snow this December. This photo is from my last white Christmas in 2007.


Dec 29, 2013

Angel necklace


Hello! It's time for another DIY post, finally.
Today I would like to share a simple angel necklace that I made as a Christmas present for my friend. I think something like this would make a perfect daughter gift as well and, hopefully, one day I'll make another one for my daughter.


Here's what you need for this project:

Angel pendant
Chain
Eye pins
Some fake pearls
Clasp
Ribbon
Pliers


Step 1: Thread 3 pearls on the eye pin. Cut off the excess and make a loop at the end. Repeat the process one more time.


Step 2: Attach the pearls to the chain.


Step 3: Attach the pendant to the chain.


Step 4: Cut the chain to the desired length.
Step 5: Attach the clasp.


Step 6: Add the ribbon.


Step 7: Wear your guardian angel around your neck or give it to someone special :)


Dec 27, 2013

Capturing December (part 3)


Merry Christmas everyone!


Dec, 16th: "Green"


Dec, 17th: "Words"


Dec, 18th: "Night time"


* floating lantern in the distance


Dec, 19th: "Bright"


Dec, 20th: "Sky view"


* from the office


Dec, 21st: "Family"


Dec, 22nd: "Tree topper"


Dec, 23rd: "Presents"


Dec, 24th: "Favorite part of Christmas Eve"


Dec, 25th: "Morning"


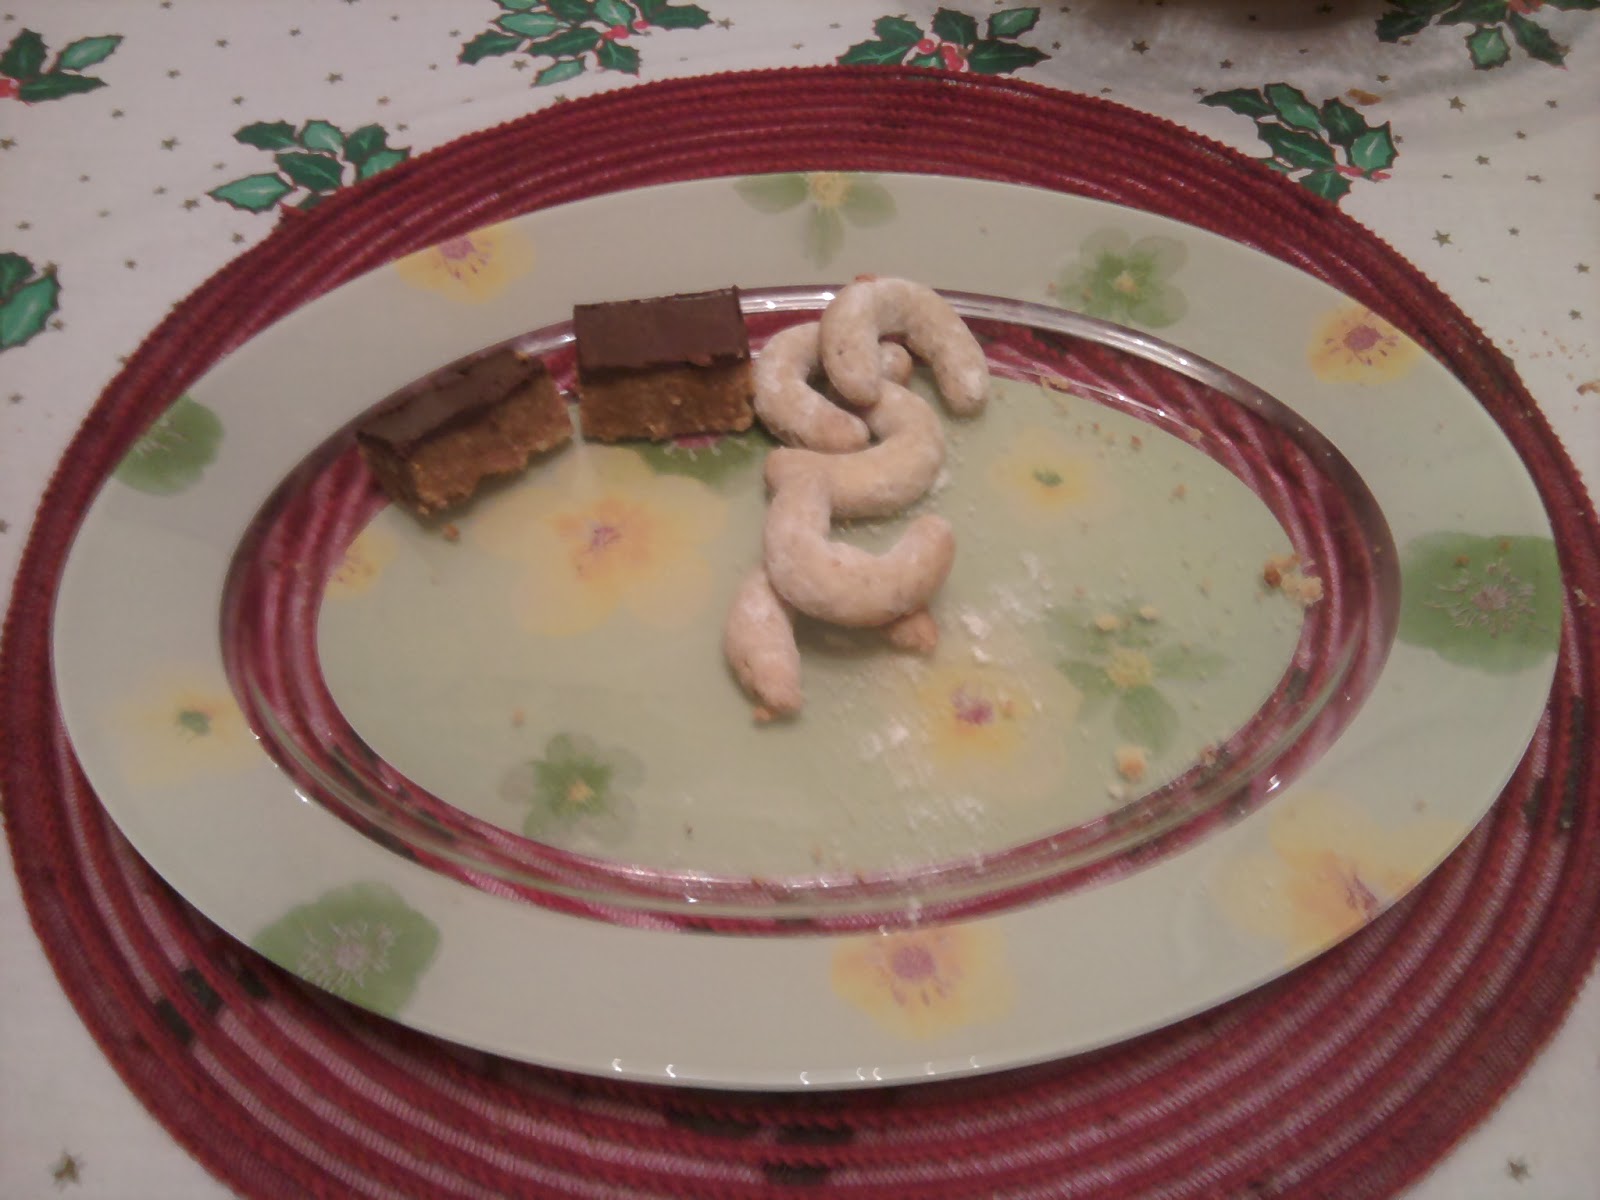
Dec, 26th: "Tradition"


* no, not the cakes, but half of them eaten by the dog...happens every holiday :/


But look at this innocent face... 


...who could be mad at her?